In this lesson, you’ll create a scenario that interacts with a map using gestures.
You will learn:
✅️ How to add and configure gesture steps
✅️ How to use the Gesture Recording Tool
📥 Download the prepared scenario
(optional – for reference or comparison)
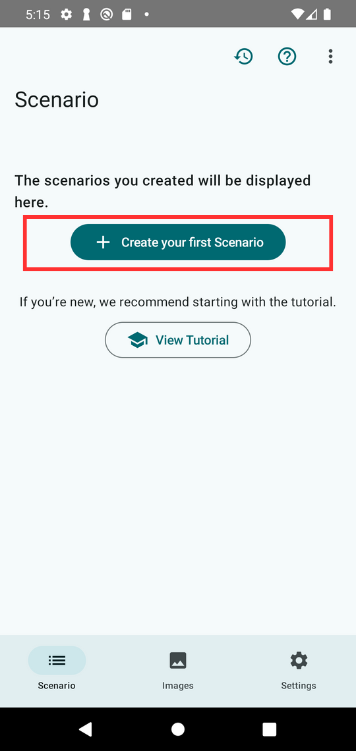
1. Create a Scenario
Let’s start by creating the scenario for this lesson.
If this is your first time, tap “Create your first Scenario” in the center of the screen.
If you already have other scenarios, tap the + button at the bottom right to create a new one.
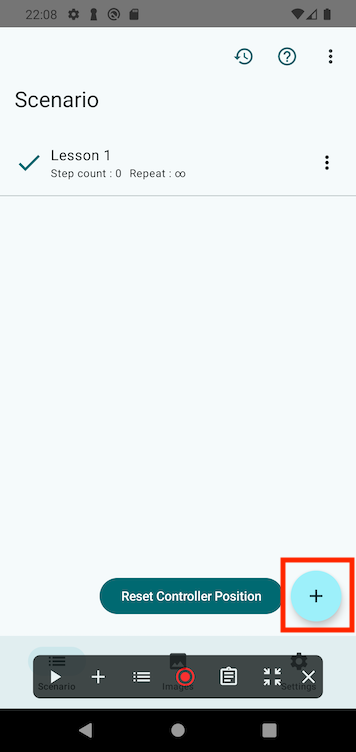
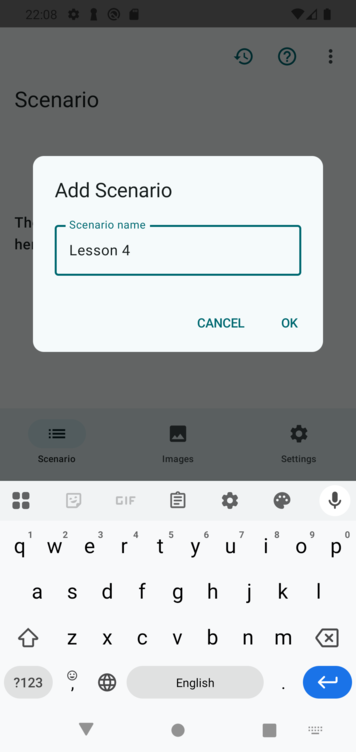
Give your scenario a name like “Lesson 4” and tap OK.
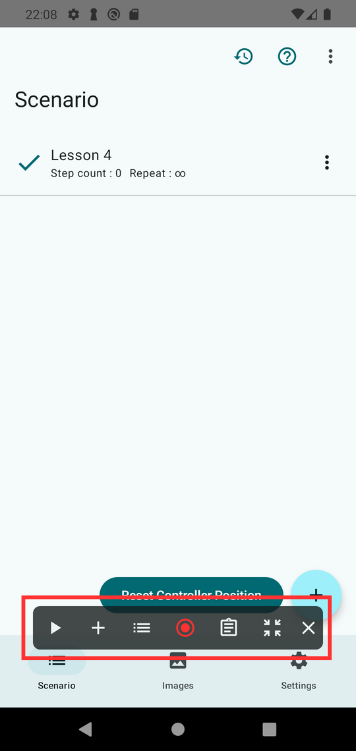
Once created, the Scenario Controller will appear at the bottom of the screen.
2. Open the Practice App
Launch the TapEzy Practice App that you installed during setup.
On the home screen, tap the button labeled “Lesson 4: Gestures.”

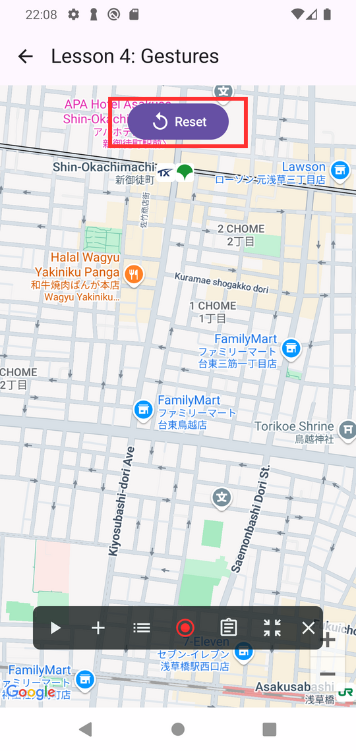
This will open a map centered around Tokyo Station.
Try moving the map with gestures like swipe or pinch to zoom in and out.
Tap Reset at the top of the screen to return the map to its original position.
3. Add a Gesture Step in TapEzy
Now let’s use TapEzy to interact with the map.
Tap the + button in the Scenario Controller and select Gesture.
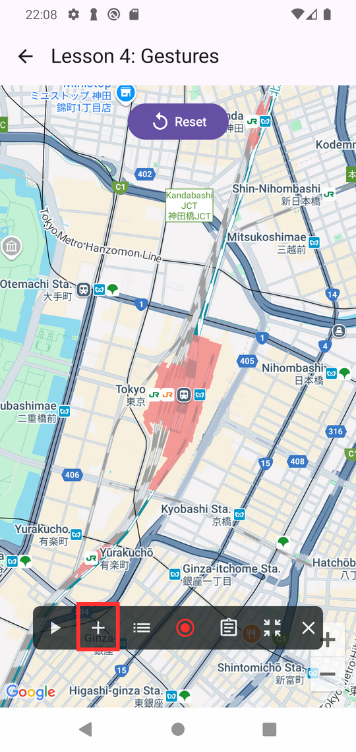
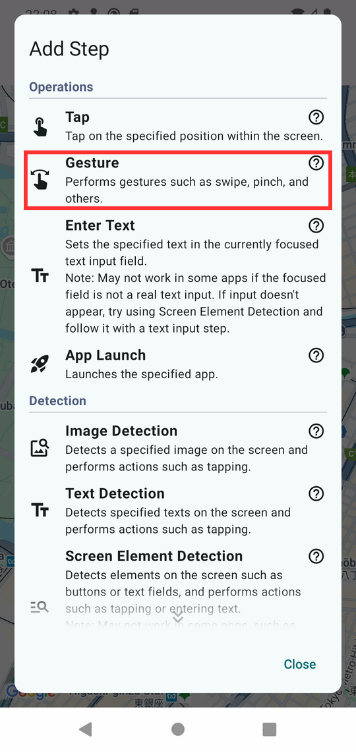
This opens the Gesture Configuration Tool.
Perform a swipe gesture on the map, then tap OK at the bottom.
If the gesture doesn’t behave as expected, repeat the gesture and tap OK again.
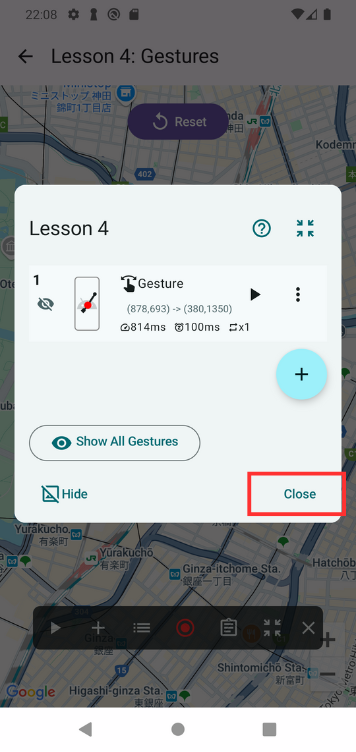
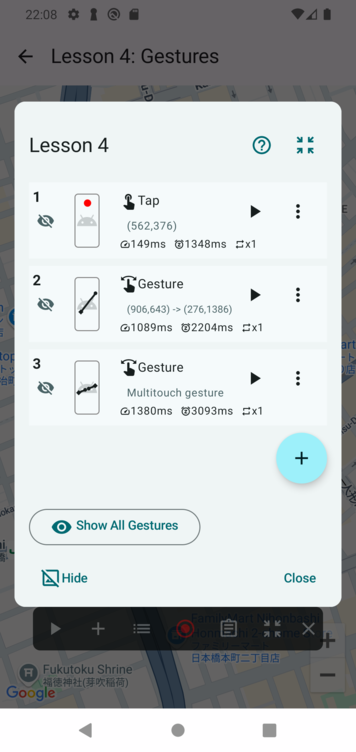
After adding the step, the step list will open. Confirm the new step is listed.
Tap Close to dismiss the list.
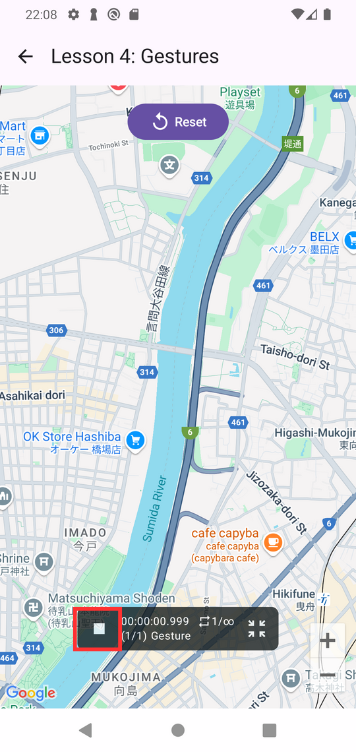
4. Play the Scenario
Let’s test the gesture you just added.
Tap the ▶ button in the Scenario Controller to play the scenario.

The map should move as the swipe gesture is replayed repeatedly.
Tap the ■ button to stop playback.
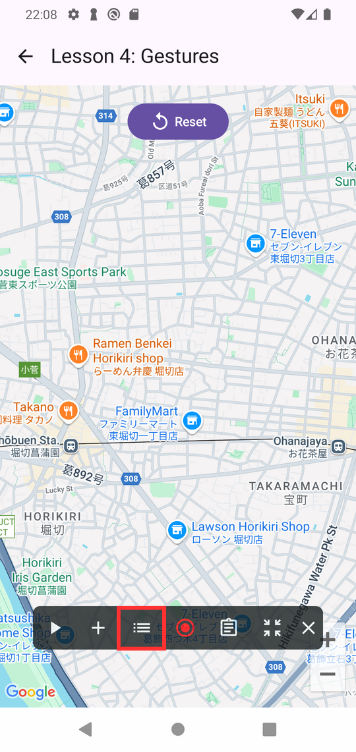
5. Delete the Step You Just Added
Next, we’ll add multiple gestures using the Gesture Recording Tool.
While you could continue building from the step you just added, we’ll delete it first to better verify how gestures are replayed.
Tap the list icon in the Scenario Controller to open the step list.
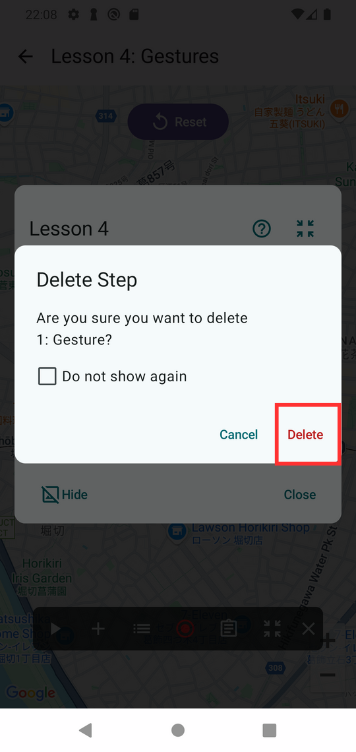
Tap the ︙ menu next to the step and select Delete.
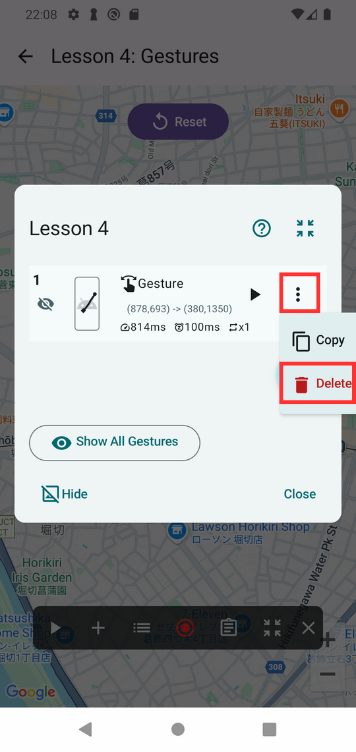
Confirm the deletion if prompted.
6. Add Multiple Gestures Using the Gesture Recording Tool
Now let’s use the Gesture Recording Tool to add a sequence of gestures.
This tool is launched using the red ◉ button that appears in the Scenario Controller.

The tool records everything from when your finger first touches the screen until all fingers are lifted.
Each recorded gesture becomes one step, and after each step is added, it is automatically executed on the screen.
This allows you to interact with the app in a natural flow, where each gesture is followed by the next—just like real usage.
When it disappears, the recorded gesture is being executed.
Here, we’ll record the following sequence:
- Tap Reset
- Swipe the map
- Pinch to zoom in
After each gesture, tap OK at the bottom to confirm and add the step.
Once finished, the step list will open, showing all the gestures you added.
7. Edit the Added Steps
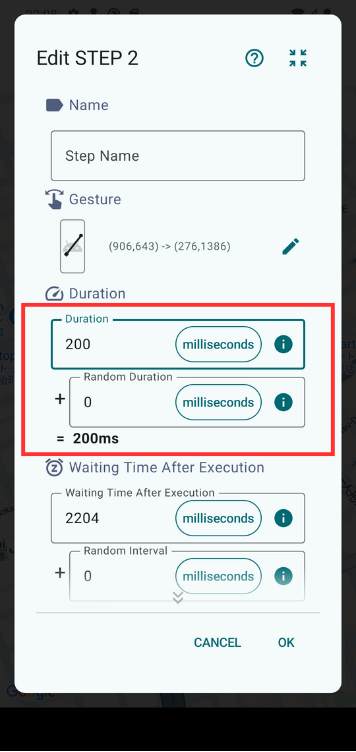
The Gesture Recording Tool also records gesture speed and wait time between gestures.
To change these after adding, edit the steps directly.
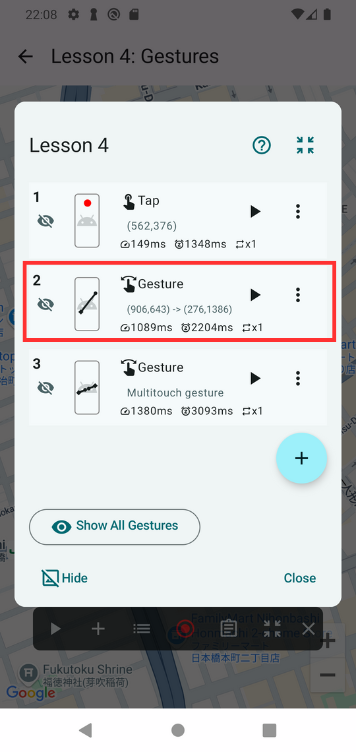
Open the step list, and tap the second step (the swipe) to open the Edit Step screen.
Set Duration to 200 ms to speed up the swipe.
A shorter time makes the gesture faster.
Also change the Waiting Time After Execution to 100 ms to quickly move to the next step.
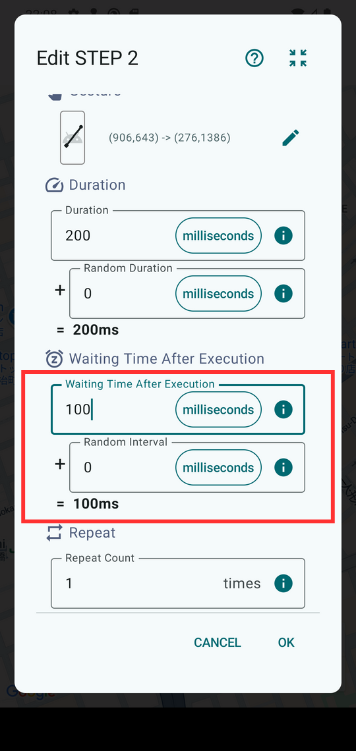
Tap OK at the bottom to save the changes.
8. Play the Scenario Again
Let’s play the updated scenario.
You should see the following sequence:
Reset → Swipe → Pinch, repeated in a loop.
Thanks to the speed and wait time changes, the gestures will now be faster than when you recorded them.
Summary
In this lesson, you learned how to:
- Add gesture steps
- Use the Gesture Recording Tool
- Fine-tune gesture speed and timing
By replaying the scenario, you confirmed that the gestures are executed correctly and reflect your timing adjustments.
📚For more details: